For truck enthusiasts and everyday drivers alike, mud flaps are more than just a cosmetic upgrade. They are a functional accessory that protects your GMC Sierra 1500 from the rigors of the road. Whether it’s to prevent mud splatter, reduce rock chips, or comply with local laws, installing mud flaps can save you from future headaches. This guide is tailored to help you Best Mud Flaps for GMC Sierra 1500 with a fresh set of mud flaps, ensuring your ride stays clean and protected.
Contents
Section 1: Pre-Installation Preparation
Tools and Materials Needed:
Before diving into the installation process, let’s ensure you have everything you need. Gather a screwdriver, an adjustable wrench, a drill (if required for your specific mud flap model), and of course, your chosen mud flaps. Opt for flaps that are designed to fit the contours and specifications of your GMC Sierra 1500 for a seamless installation.
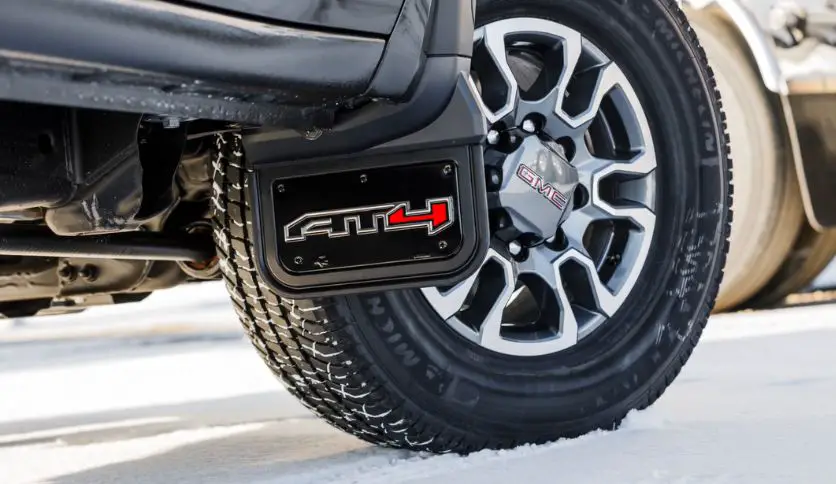
Understanding Your GMC Sierra 1500’s Wheel Well:
Take a moment to familiarize yourself with the wheel well area of your truck. This is where your mud flaps will reside. If you have oversized tires or additional accessories like side steps, take note as they may affect how you install your mud flaps.
Section 2: Removing Existing Mud Flaps (if applicable)
If your Sierra already has mud flaps, you’ll need to remove them. Start by loosening the screws or bolts that hold the mud flaps in place. Be careful not to strip the screws or scratch your truck’s paint. Once removed, clean the area to ensure a smooth installation for your new mud flaps.
Section 3: Installing New Mud Flaps

Positioning and Aligning Mud Flaps
Hold the new mud flap up against the wheel well to determine the correct position. It should cover the width of your tire for maximum protection. Use the existing holes as a guide or, if necessary, mark where new holes will need to be drilled.
Securing the Mud Flaps:
Once aligned, secure the mud flap using screws or bolts. If drilling is required, double-check your markings before proceeding. Tighten everything down, but be careful not to over-tighten and damage the mud flap or your vehicle.
Section 4: Post-Installation
Checking for Proper Installation:
Give your mud flaps a gentle tug to ensure they’re securely attached. Turn your wheels left and right to check for clearance and ensure there’s no rubbing against the mud flaps.
Maintenance Tips:
Mud flaps are low maintenance but give them a quick check during regular car washes. Look for signs of wear and tear and ensure they’re still firmly attached.
Choosing the Right Size Mud Flaps for Your GMC Sierra 1500
To select the right size mud flaps for your GMC Sierra 1500, measure the width and height of your tires, and ensure the flaps provide ample coverage without hindering the tire’s movement or being too low to the ground. Opt for flaps that match your truck’s specific model and year for a seamless fit and consider professional installation for best results.
FAQs For install mud flaps on a GMC Sierra 1500
Q: Do I need to drill holes in my truck to install mud flaps?
It depends on the design of the mud flaps. Some use existing holes, while others may require drilling.
Q: Can mud flaps affect my vehicle’s performance?
Properly installed mud flaps should not affect your truck’s performance. They are designed to protect without interfering with the vehicle’s operation.
Conclusion
You’ve now equipped your GMC Sierra 1500 with a new set of mud flaps, enhancing both its functionality and appearance. With this guide, you’ve taken the steps to protect your vehicle and keep it looking great. Remember, the road can be tough on your truck, but with your new mud flaps, you’re ready to face the elements head-on.

Hello, this is Wesley Shelton, currently working in a car restoration company for over 5 years. Before that, I was a worker at a small car repair shop. As I was a car freak from a young age and worked as a professional for over half a decade, I think I now know pretty much everything about every car and its parts. To establish my name as a professional and help others by sharing my knowledge, I’ve created this website, which I work on whenever I get free time. I hope you’ve enjoyed my informative blog!
