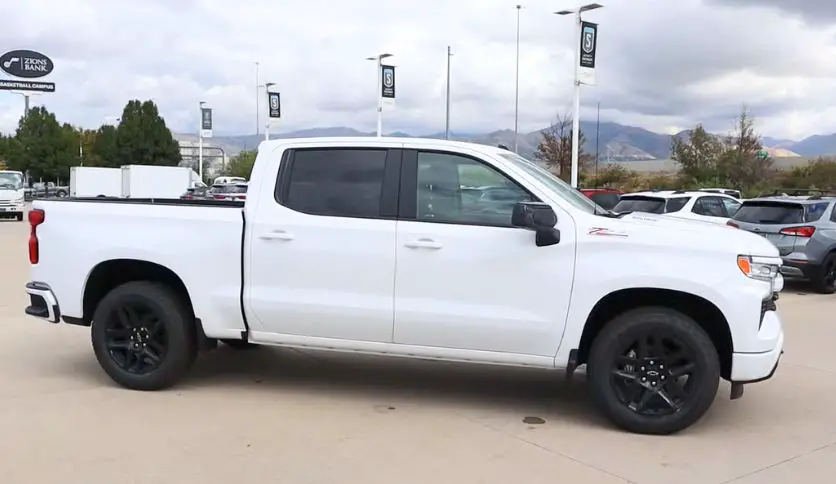
If you’re feeling a bit of a jolt or hiccup when shifting gears in your Chevy Silverado, it might be time to take a closer look at your gear shifter cable. This unsung hero of your vehicle’s transmission system is crucial for a smooth ride. Whether you’re a DIY enthusiast or just curious about the process, this guide is designed to walk you through each step of replacing your gear shifter cable.
Why your Chevy Silverado Gear Shifter Not Working Problem it’s solution.
Contents
- 1 Understanding the Gear Shifter Cable
- 2 Preparing for Replacement
- 3 Accessing the Gear Shifter Cable
- 4 Removing the Old Gear Shifter Cable
- 5 Installing the New Gear Shifter Cable
- 5.1 Step 1: Compare the New Cable with the Old
- 5.2 Step 2: Route the New Cable
- 5.3 Step 3: Secure the Cable at the Transmission
- 5.4 Step 4: Connect the Cable to the Shifter Mechanism
- 5.5 Step 5: Adjust the Cable Tension
- 5.6 Step 6: Test the Gear Selection
- 5.7 Step 7: Double-Check Your Work
- 5.8 Step 8: Reconnect the Battery and Start the Vehicle
- 6 Reassembly and Final Checks
- 7 Maintenance Tips
- 8 FAQs For Replace Chevy Silverado Gear Shifter Cable
- 9 Conclusion
Understanding the Gear Shifter Cable
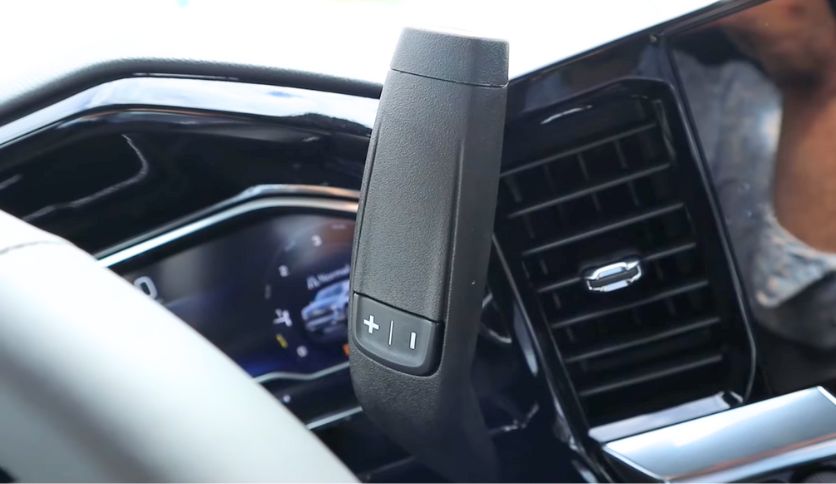
The gear shifter cable, also known as the transmission shift cable, is the link between your gear selector and the transmission. It’s what allows you to smoothly transition from park to drive or into reverse. When this cable starts to wear out or breaks, you’ll know it. You might notice your Silverado is hesitant to change gears, or the gear shift lever might feel loose.
Ignoring these signs can lead to bigger transmission troubles, so it’s best to address them promptly.
Preparing for Replacement
Before you begin, you’ll need a few tools: a socket set, screwdrivers, pliers, and your new gear shifter cable. Always prioritize safety by disconnecting the battery and ensuring your Silverado is securely parked or propped up if needed.
Accessing the Gear Shifter Cable
Your first task is to get to the cable itself. This might involve removing the center console or other components in the cabin. Take photos as you go to remember where each piece fits when it’s time to put everything back together.
Removing the Old Gear Shifter Cable
When you’ve finally got a clear view of the gear shifter cable in your Chevy Silverado, it’s time to remove the old one. This step is crucial and requires a steady hand and patience. Here’s how to do it with precision:
Step 1: Locate the Cable Ends
The gear shifter cable will have two ends – one attached to the shifter mechanism inside the cabin and the other to the transmission itself. You’ll need to locate both ends to properly disconnect the cable.
Step 2: Disconnect from the Shifter Mechanism
Inside the cabin, the cable is typically connected to the shifter mechanism by a clip or a bolt. Carefully remove any securing hardware with the appropriate tools. This may be a clip that you can pry off with a flathead screwdriver or a nut that you’ll need to loosen with a socket wrench.
Step 3: Disconnect from the Transmission
Under the hood or beneath the vehicle, find where the cable attaches to the transmission. This end will often have a similar clip or a bolt. It might be a bit more challenging to reach, requiring you to maneuver through tight spaces. Use a flashlight to help you see clearly, and ensure you’re not pulling on any other wires or components.
Step 4: Remove the Cable
With both ends disconnected, you can now remove the cable from the vehicle. It may be secured with additional clips or ties along the route from the shifter to the transmission – be sure to remove these as you go.
Step 5: Inspect the Cable Path
With the old cable out, take a moment to inspect the path it ran along. Look for any signs of abrasion that could damage the new cable, and check for any other components that look worn or damaged. Addressing these issues now can save you time and trouble in the future.
Step 6: Compare the Old and New Cables
Before you dispose of the old cable, compare it to the new one to ensure they’re identical. This is the perfect time to make sure the length, connection points, and style match up, so you don’t encounter any surprises during installation.
Removing the old gear shifter cable is a methodical process that sets the stage for a successful replacement. Take your time, keep your workspace organized, and move on to the next step only when you’re confident that everything is in order.
Installing the New Gear Shifter Cable
Once the old gear shifter cable has been successfully removed, it’s time to install the new one. This process is critical for the smooth operation of your Chevy Silverado’s transmission. Here’s a detailed approach to ensure the installation is done correctly:
Step 1: Compare the New Cable with the Old
Before installation, lay the new cable next to the old one to confirm that its length and fittings match. This is a crucial step to avoid any surprises once you start the installation process.
Step 2: Route the New Cable
Begin by carefully routing the new cable exactly where the old one was positioned. Pay close attention to the path it should follow; there may be clips or brackets that hold the cable in place. These guides are there to prevent the cable from tangling or rubbing against moving parts, which could lead to premature wear.
Step 3: Secure the Cable at the Transmission
Under the vehicle or under the hood, locate the attachment point on the transmission. Slide the end of the new cable into position and secure it with the original fastening method. This might be a clip that snaps into place or a bolt that needs to be tightened. Make sure it’s as secure as the original was, with no play that could affect its operation.
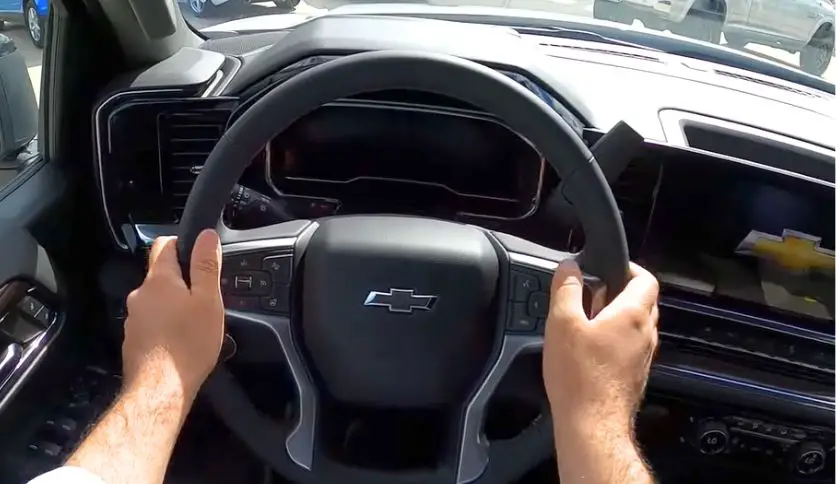
Step 4: Connect the Cable to the Shifter Mechanism
Move back to the driver’s cabin and attach the other end of the cable to the shifter mechanism. Again, this will likely involve a clip or a bolt. Ensure that the connection is tight and that the cable is not twisted or kinked, as this could impede the movement of the shifter.
Step 5: Adjust the Cable Tension
With both ends connected, it’s time to adjust the tension of the cable. This is a delicate step as it determines how your gear shifter will feel and operate. If your Silverado has an adjustable cable, follow the manufacturer’s guidelines to set the correct tension. If it’s not adjustable, ensure that the cable is seated correctly and that there’s no slack.
Step 6: Test the Gear Selection
Before reassembling all the parts, it’s important to test the gear selection. With the vehicle still off and the battery disconnected, go through all the gear positions with the shifter. You should feel a firm but smooth transition into each gear. If the movement feels too loose or too tight, adjust the tension again.
Step 7: Double-Check Your Work
After adjusting, give everything another once-over. Make sure all connections are secure and that the cable hasn’t slipped out of any guides or clips during your testing.
Step 8: Reconnect the Battery and Start the Vehicle
Once you’re satisfied with the installation, reconnect the battery. Start the vehicle and, with the brake firmly applied, test the gear shifter in a live scenario. It should smoothly transition between gears without any resistance or strange noises.
Installing the new gear shifter cable is a process that requires attention to detail and precision. By carefully routing and securing the new cable, and properly adjusting its tension, you ensure that your gear selections will be accurate and your driving experience smooth. Remember to take your time and follow these steps methodically for a successful installation.
Reassembly and Final Checks
Now, reverse your disassembly steps. Replace any panels or components you removed, double-checking that everything is tight and in place. Before you reconnect the battery and start the engine, make sure the gear shifter moves smoothly and accurately selects each gear.
Maintenance Tips
To keep your new cable in top shape, ensure it stays clean and free of debris. Regularly check under the hood and inside the cabin to catch any potential issues early.
FAQs For Replace Chevy Silverado Gear Shifter Cable
Q: How do I know if my gear shifter cable needs replacing?
Look out for difficulty in shifting gears, strange noises when shifting, or a loose gear lever.
Q: Can I replace the cable myself?
Yes, if you have basic mechanical skills and the right tools, you can follow this guide to replace the cable yourself.
Q: What should I do if the problem persists after replacing the cable?
If issues continue, it’s best to seek help from a professional mechanic.
Conclusion
Congratulations! You’ve just replaced your Chevy Silverado’s gear shifter cable. This task isn’t just about saving money on repairs—it’s about understanding and maintaining the machine you rely on every day. If you’ve followed these steps and still encounter issues, it might be time to consult a professional. But for now, take pride in your work and enjoy a smoother ride.

Hello, this is Wesley Shelton, currently working in a car restoration company for over 5 years. Before that, I was a worker at a small car repair shop. As I was a car freak from a young age and worked as a professional for over half a decade, I think I now know pretty much everything about every car and its parts. To establish my name as a professional and help others by sharing my knowledge, I’ve created this website, which I work on whenever I get free time. I hope you’ve enjoyed my informative blog!
